DIY hummingbird feeder: Learn How to Make!
Create a homemade hummingbird feeder with ease by following our detailed guide. Perfect for nature enthusiasts, this simple project involves using readily available materials to craft a feeder that will attract and nourish hummingbirds.
Our step-by-step instructions ensure a fun and successful DIY experience.
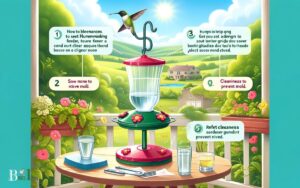
Making a DIY hummingbird feeder involves a few key steps:
- Gather materials: You’ll need a clean container, red paint (non-toxic), sugar, water, and optional decorative elements.
- Assemble the feeder: Decorate the container with red accents, mix sugar water for feed, and create feeding ports.
- Hang and maintain: Find a suitable location to hang your feeder and keep it clean and stocked with fresh sugar water.
By creating your own feeder, you not only get to enjoy the beauty of hummingbirds up close but also contribute to their well-being.
Delight in the flutter of tiny wings by crafting your own hummingbird feeder—a rewarding project that brings nature to your doorstep.
Key Takeaway
Choosing the Right Materials
Selecting appropriate materials is crucial for ensuring the durability and functionality of a DIY hummingbird feeder.
When choosing materials, prioritize durability and safety. Opt for non-toxic, weather-resistant materials such as glass, copper, or BPA-free plastic.
Ensure that any paints or finishes used are non-toxic and safe for wildlife. The feeder should be easy to clean and refill, so select materials that allow for this.
Consider the aesthetic appeal of the materials, as the feeder should enhance the beauty of the surroundings.
Keep in mind the ease of assembly and maintenance when selecting materials, as this will contribute to the overall success of the project.
Now that the materials have been chosen thoughtfully, let’s move on to the step-by-step assembly instructions.
Step-by-Step Assembly Instructions
Choosing appropriate materials is crucial for ensuring the durability and functionality of a DIY hummingbird feeder. Once the materials have been chosen, the assembly process can begin.
Follow these step-by-step instructions to create a homemade hummingbird feeder:
- Assemble the Base: Start by attaching the base to the container securely to prevent any leaks. Ensure that the base has feeding ports for the hummingbirds to access the nectar.
- Prepare the Nectar: Mix the nectar solution using the appropriate ratio of sugar and water. Boil the water, dissolve the sugar, and let the solution cool before pouring it into the feeder.
- Hang the Feeder: Once the feeder is assembled and the nectar is prepared, hang the feeder in a suitable location where hummingbirds can easily access it.
Tips for Placing Your Feeder
When placing your hummingbird feeder, it’s important to consider ideal hanging locations and to avoid direct sunlight.
These two factors can greatly impact the birds’ access to the feeder and the quality of the nectar.
By carefully selecting the placement of your feeder, you can create a welcoming environment for these fascinating creatures.
Ideal Hanging Locations
Once you have constructed your DIY hummingbird feeder, it is important to carefully consider where to hang it for optimal hummingbird activity.
To attract and serve hummingbirds effectively, consider the following ideal hanging locations:
- Near Flowers: Hang your feeder close to flowers or flowering plants, as hummingbirds are naturally attracted to these sources of nectar. This will make it easier for them to find your feeder and encourage frequent visits.
- Sheltered from Wind: Select a location that is sheltered from strong winds, as this will prevent the feeder from swinging excessively and spilling nectar. Hummingbirds prefer to feed in calm and stable conditions.
- Visible from Indoors: Hang the feeder where it can be easily seen from inside your home, allowing you to enjoy watching the hummingbirds while minimizing disruptions to their feeding.
Carefully selecting the hanging location of your DIY hummingbird feeder will enhance the experience for both the hummingbirds and yourself.
Avoid Direct Sunlight
To ensure the optimal performance of your DIY hummingbird feeder, it is essential to position it in a location that avoids direct sunlight, as excessive heat can spoil the nectar and deter hummingbird activity.
When choosing a spot for your feeder, look for areas with partial shade or dappled sunlight to protect the nectar from spoiling too quickly.
Here are some tips for placing your feeder:
| Tip 1: | Hang the feeder under a tree or a pergola to provide shade during the hottest part of the day. |
|---|---|
| Tip 2: | Avoid placing the feeder near reflective surfaces, such as windows, that can intensify the sunlight and heat. |
| Tip 3: | Consider using a feeder with built-in shade or adding an umbrella to shield the nectar from direct sunlight. |
| Tip 4: | Position the feeder where it receives morning sun and afternoon shade to create a comfortable environment for hummingbirds. |
| Tip 5: | Monitor the feeder throughout the day to ensure it stays out of direct sunlight as the sun’s position changes. |
Decorative Touches and Add-Ons
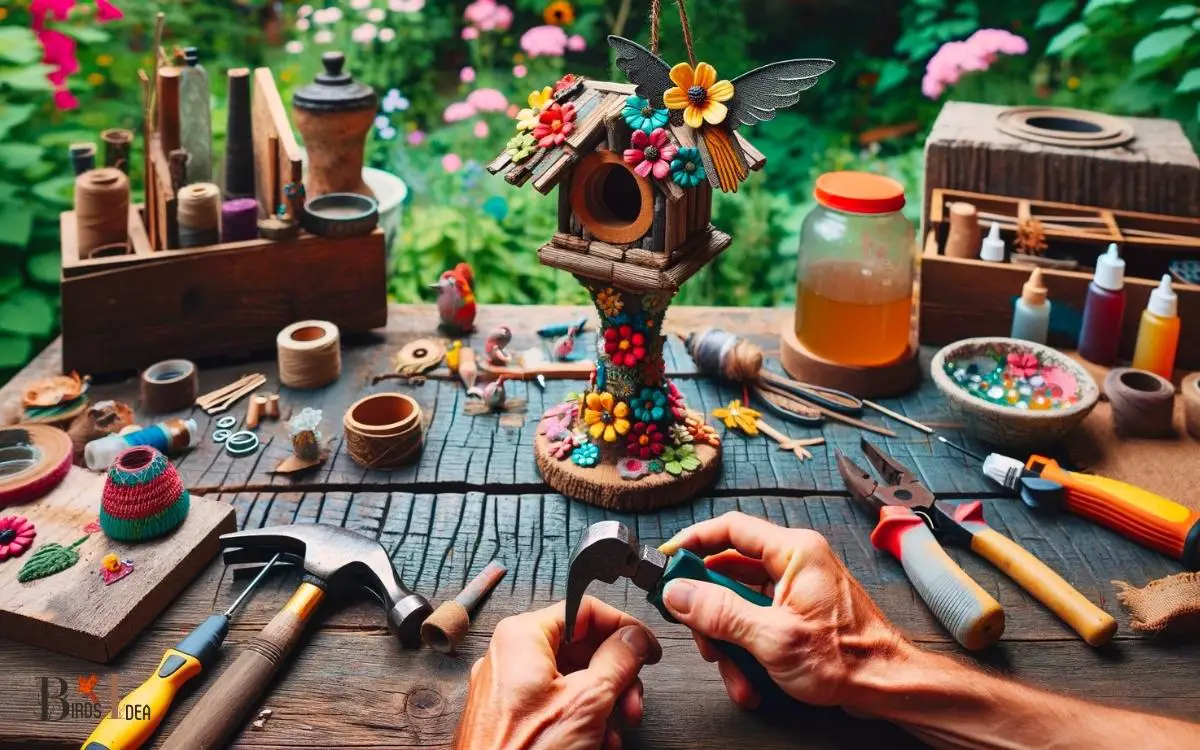
To enhance the visual appeal of your DIY hummingbird feeder, consider incorporating small, colorful embellishments or artistic designs that can attract the attention of hummingbirds.
Adding bright, eye-catching elements such as faux flowers, decorative beads, or colorful ribbons can make your feeder more inviting to these delightful creatures.
You may want to include perches or resting spots near the feeding ports, allowing the hummingbirds to comfortably feed and rest.
Be mindful of the materials you use, ensuring that they are safe for the birds and easy to clean.
Furthermore, consider placing the feeder near blooming flowers or in a shaded area to create an inviting environment for the hummingbirds.
These decorative touches and thoughtful add-ons can elevate the functionality and attractiveness of your DIY hummingbird feeder.
Maintenance and Cleaning Guidelines
Proper maintenance and cleaning of your DIY hummingbird feeder should be performed regularly to ensure the health and well-being of the visiting birds. Follow these guidelines to keep your feeder in optimal condition:
- Clean the feeder thoroughly every 3-5 days with a solution of one-part white vinegar to four-parts water to prevent mold and bacterial growth.
- Rinse the feeder with clean water after cleaning and ensure it is completely dry before refilling it with fresh nectar.
- Inspect the feeder regularly for any signs of wear and tear, and replace any damaged parts to maintain its functionality and safety for the hummingbirds.
What Are Some DIY Tips for Making Hummingbird Feeders?
If you want to attract hummingbirds to your garden, why not try making your own feeder? Jenny’s hummingbird feeder recipes are a great starting point. Use a combination of sugar and water, and avoid adding any additives or food coloring. Hang the feeder in a shaded area for hummingbirds to enjoy.
Attracting and Observing Hummingbirds
Attractiveness is key when aiming to entice and observe hummingbirds at your DIY feeder. To attract these beautiful creatures, plant nectar-producing flowers, such as trumpet vine, bee balm, or salvia, in your garden.
These vibrant blooms will not only attract hummingbirds but also provide them with a natural food source.
Ensure that your feeder is filled with a homemade nectar solution made of four parts water to one part sugar, as commercial mixes often contain harmful dyes and preservatives.
Place the feeder in a shaded area to prevent the nectar from spoiling too quickly. Once the hummingbirds start visiting, observe them from a distance to avoid scaring them away.
By creating an inviting environment and respecting their space, you can enjoy the delightful presence of these enchanting birds.
Conclusion
Creating your own DIY hummingbird feeder can be a rewarding and enjoyable project. By carefully choosing the right materials, following the step-by-step assembly instructions, and adding decorative touches, you can attract and observe these beautiful creatures in your own backyard.
With proper maintenance and cleaning, your feeder will continue to bring joy and wonder as you watch the hummingbirds flutter and feed.
So, why not give it a try and bring some natural beauty to your outdoor space?

